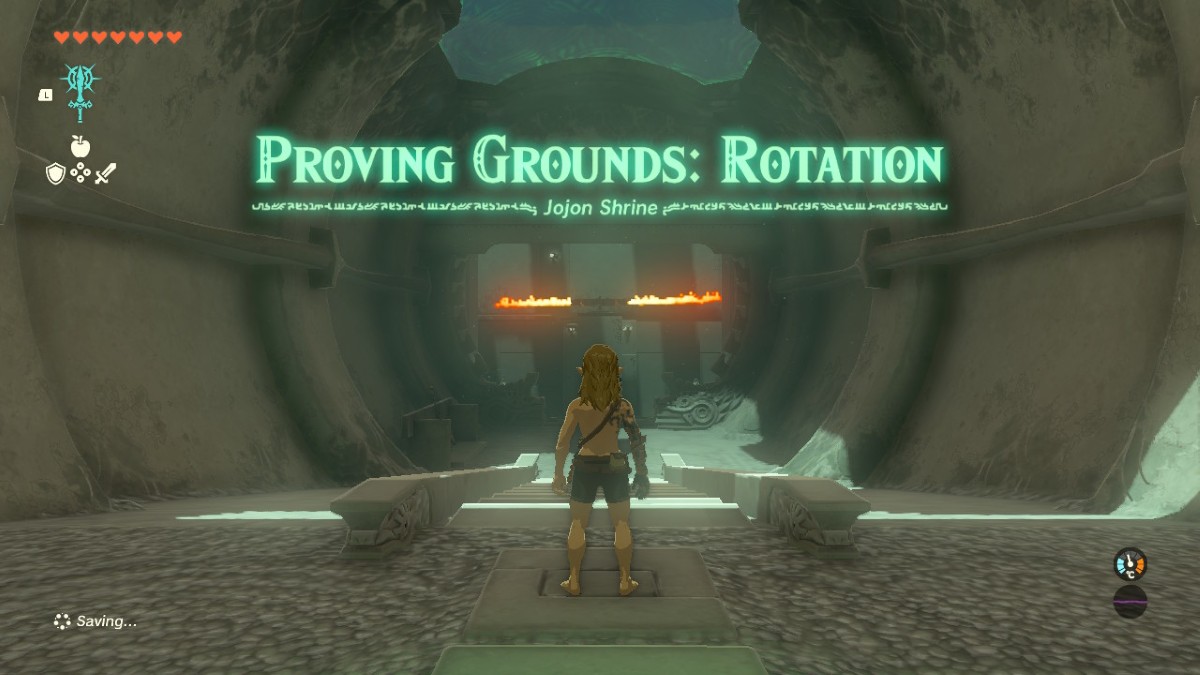
The Jojon Shrine is part of the Proving Grounds subsection of shrines in Tears of the Kingdom. If you’ve completed a Proving Grounds shrine before, you’ll be familiar with the concept. All items, weapons, and equipment are taken away from Link at the entrance, and you have to defeat all of the constructs inside to proceed.
Typically, you’re able to defeat them with minimal weaponry or by utilizing the different skills that Link has in the game. In this case, you’ll be able to defeat the constructs with the basic weaponry provided. However, finding Jojon Shrine is quite a task. We’ve covered everything you need to know to complete the shrine below, but we’ll go through the complexities of locating it first.
How to find Jojon Shrine in Tears of the Kingdom
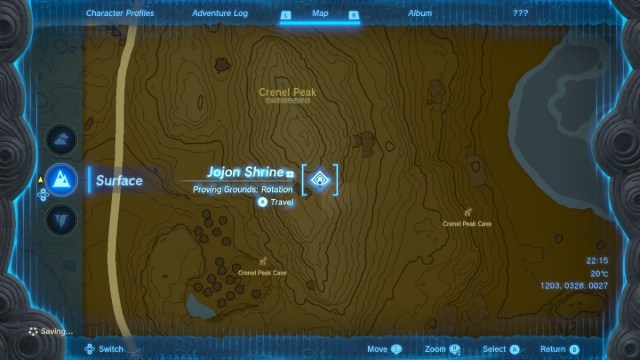
Jojon Shrine is one of the few shrines in Tears of the Kingdom that you have to actively search for. You won’t be finding this one while casually gliding across Hyrule. To start, you need to head to Crenel Peak in the Hyrule Field area of the map. The shrine is located underneath the peak, but the underground entrance is off to the side, near the coastline. In the screenshot above, you can see the shrine and the entrance to the cave that sits to the east.
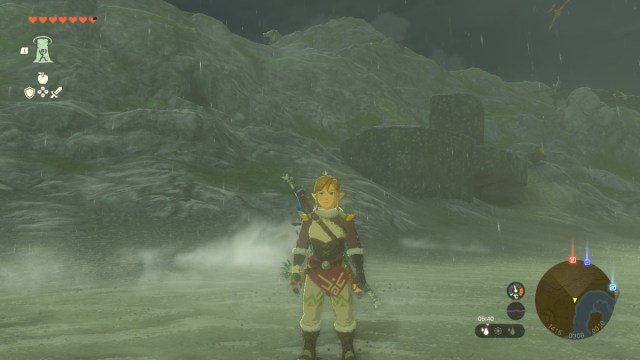
To get to the entrance, look for the outcrop of rocks on the east side of Crenel Peak. You can see the entrance, pictured above, to the left of the rocks. Almost as soon as you enter Crenel Peak Cave, you’ll be greeted by a blue horriblin that you’ll need to defeat. The blue ones are some of the weaker horriblins in the game, so it shouldn’t take more than a handful of hits, even with a low level weapon.
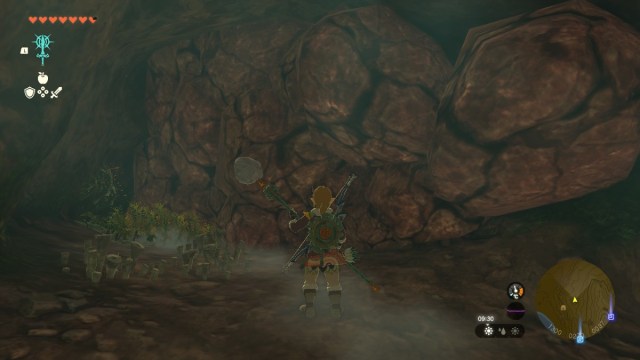
After defeating the horriblin, you need to make a weapon to destroy the boulder walls in the cave. Alternatively, you can use bomb flowers to make your way through. There are stones on the ground in the same room as the horriblin that you can attach to one of your weapons with Fuse to create a boulder smasher.
When you have your weapon of choice, break your way through the boulder wall on the right side of the room. It will eventually open up to reveal two paths. The left path leads to a group of Bokoblins, and the right path leads to Jojon Shrine.
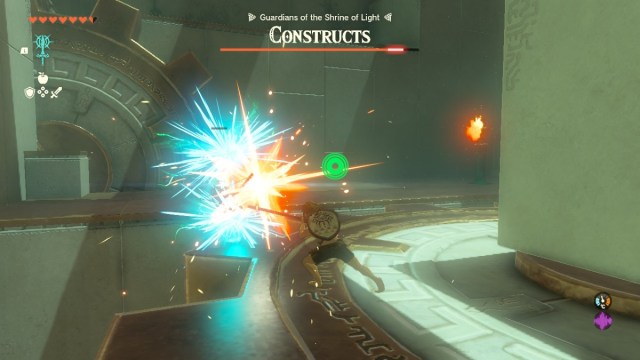
How to complete Jojon Shrine
As a Proving Ground shrine, you’ll need to defeat each of the constructs inside Jojon. There are multiple enemies to defeat, but they combine together into a single “Construct” health bar at the top of your screen.
To start, take the basic weapons and shield from the stand on the left side of the shrine entrance. The constructs in Jojon Shrine aren’t as powerful as in some of the other Proving Ground shrines. It’s possible to defeat all of them with just the basic weapons available at the beginning, along with picking up new ones from the constructs you kill.
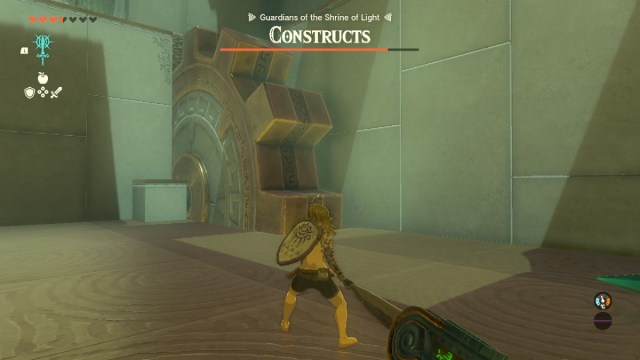
There are three levels to the shrine, with constructs on each one. Kill the constructs on the entrance level first. After defeating all of them, you can use Ultrahand to grab the firebreathing device on the right side of the shrine. You can use Fuse to attach it to one of your weapons, creating a melee weapon that breathes fire.
Once you have your more powerful weapon, use Recall on the cog pictured above, and then hop on it to travel up to the top level. There are two more constructs on the top level to defeat. Also on this level are some stronger weapons and Fuse items. The best piece of equipment on the top level is a cannonball shield which fires cannonballs as you defend. Grab it and equip it to defeat the final construct.
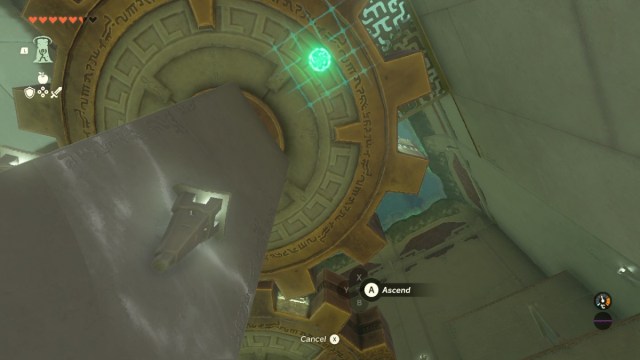
The last construct is on the bottom level of the shrine. Jump down to the bottom level, and you can hold “ZL” to hide behind the cannonball shield as it fires balls at the construct on the bottom level. The cannonballs will disarm the construct so you can safely kill it with a melee weapon.
Once it’s dead, use Ascend, like in the picture above, to travel back to the main level. Then, once again, use Recall on the cog to get to the top floor, where the exit is located.
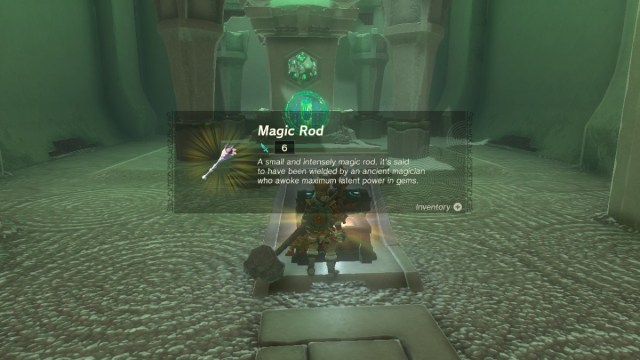
Before you exit the shrine, make sure to open the chest near the end. It contains a Magic Rod, which will come in handy on your adventures.
That’s it! You’ve proved yourself, and Jojon Shrine is complete.


