
Things can get pretty confusing during your adventures with Matsya
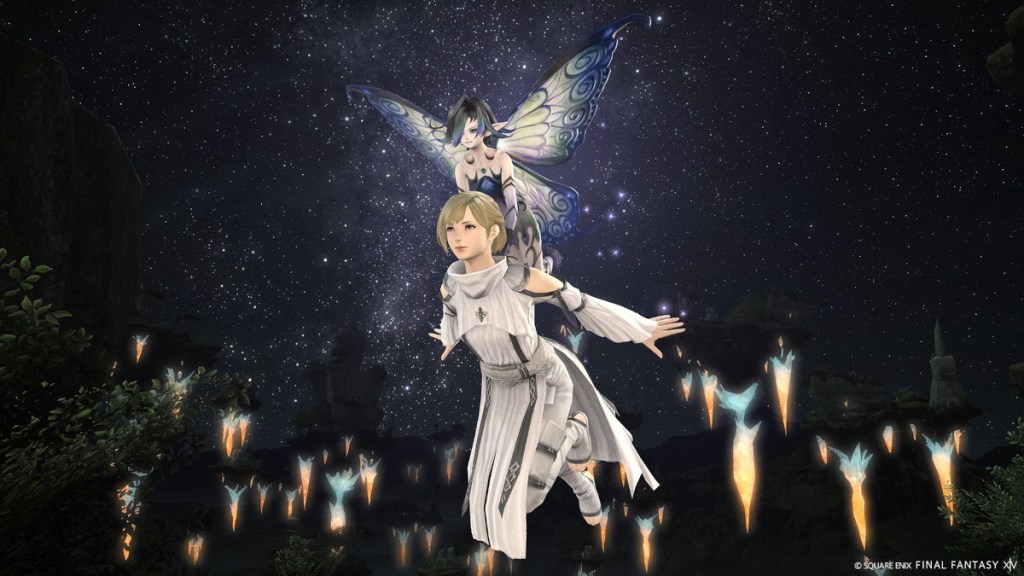
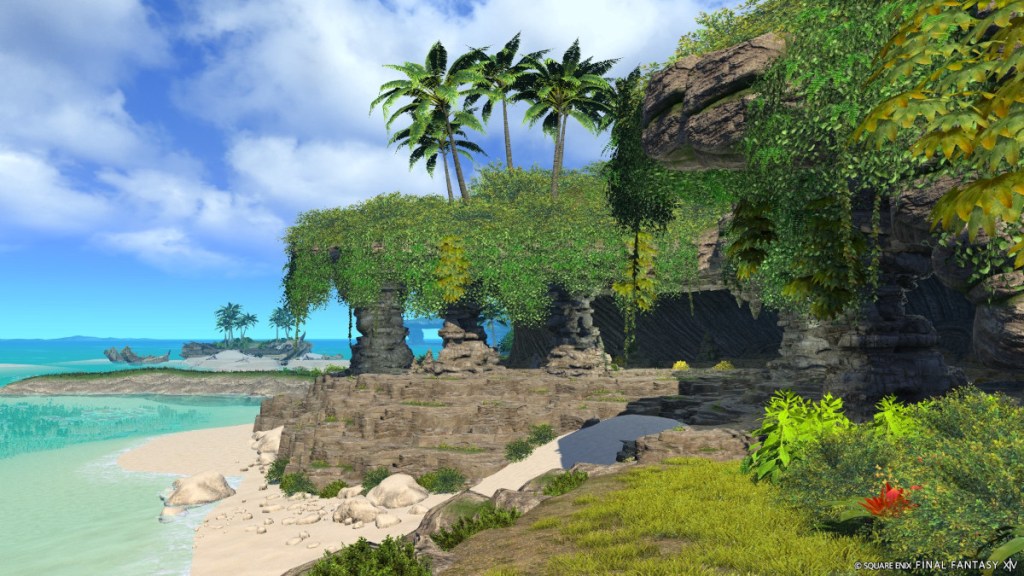
The latest Variant Dungeon in Final Fantasy XIV, Aloalo Island, is an adventure into a tropical paradise with Matsya, everyone’s favorite Arkasadora friend. There are 12 routes that must be completed in order to complete the Conservation Records and be rewarded with the Statice Wings mount.
Unlocking Aloalo Island is done by talking to Osmon in Old Sharlayan (X:12.0, Y:13.3) and picking up the quest named “Stranger From Paradise”. It does have some pre-requisite requirements:
- Completion of the Main Scenario quest “A Satrap’s Duty”
- Having at least one level 90 combat class
Once you’ve completed this quest, you will have access to Aloalo Island and have three paths ahead of you to explore. While exploring these paths, you’ll need to complete certain actions, sometimes in a certain order, to unlock different endings called “Conservation Records”. Some of these paths can get pretty confusing, so let’s go through them.
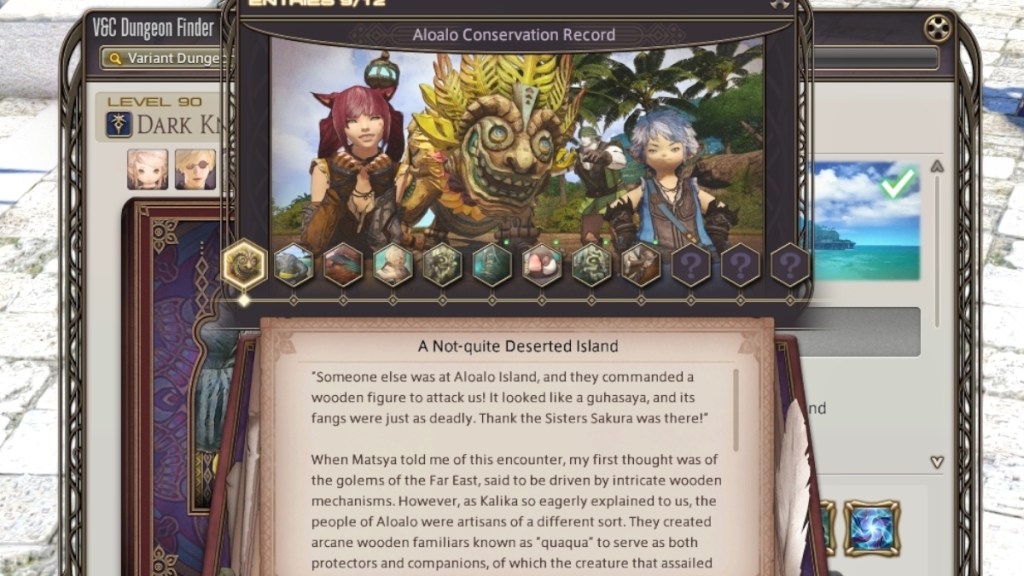
1 “A Not-quite Deserted Island”
To obtain this Conservation Record, begin by taking the left path. Fight your way through the trash mobs until Matsya veers off to the side and an exclamation mark appears above his head. Upon talking to Matsya, he will ask if he can go fishing and you will be given two dialogue options. For this first path, you must select “We should press on.” and continue forwards. You’ll soon be faced with another choice when you witness a Lala named Zeal-blind Zozone being attacked by a trash mob and you have to allow his HP to decrease without interfering. He will curse at you as he runs away, after which you are free to defeat the trash mob and then move on to the final boss, Ketuduke.
2 “The First Settlers of Aloalo Island”
Once again, take the left path and when Matsya asks if he can do some fishing, choose the “We should press on.” dialogue option. This time, though, you should help to heal Zeal-blind Zozone and defeat the trash mob while protecting him. For your efforts, he will aid you slightly in the final battle with Ketuduke.
3 “The God of Heaven and Sea”
Take the left path and complete everything until Matsya once again asks whether he can go fishing. This time, rather than deny him the pleasure, you should pick the dialogue option which says “Fish to your heart’s content.” and a cutscene will play. Following this cutscene, you will walk further up the path and Matsya will want to fish again, but he needs bait. For this path, interact with the patch of sand on the right and give what you find to Matsya. Once you’ve completed another trash mob, you’ll be free to face Ketuduke.
4 “A Noxious Gift”
Take the left path and complete everything as you have done for the previous three paths and when Matsya asks you whether he can go fishing, select the “Fish to your heart’s content.” dialogue option. Following the cutscene, follow Matsya along the path and when he asks for bait, interact with the pile of rocks on the left, giving what you find to Matsya. Defeat the trash mob and move on to face Ketuduke for the final time.
You’ve now completed all of the paths on the left route.
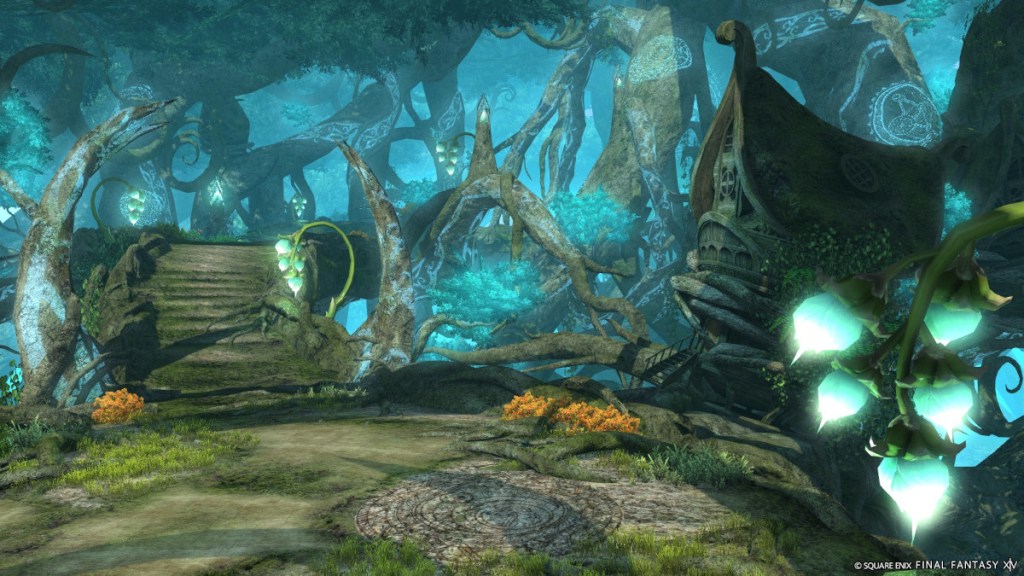
5 “The Roots of Arcanima”
Take the middle path and push forwards until you’ve defeated Quaqua. (There are some plants that you can pop during the second trash mob fight – these do not change the outcome of the path in any way, but they do change the mechanics of the fight with Quaqua, so it’s fun to test.) Once you’ve defeated Quaqua, you will encounter a trash mob containing one Treeant and some Crawlers. There is also a sigil on the floor of this area. For this Conservation Record, you want to avoid this sigil and kill the trash mob in any order. After this, you’re free to make your way towards the final boss of this path, Lala.
6 “Under the Boughs of the Great Tree”
Take the middle path and push forwards until you’ve defeated Quaqua. Once again, when you come to the Treeant and his Crawler friends, avoid the sigil on the floor and kill them in any order. Once you’ve done this, move forwards until you encounter the next trash mob but do not pull them. To the left of the area, there are some red bushes. Run through the red bushes and you will find a secret path. Follow this secret path until you find a small group of Armadillos which you must scare. Running up to them will cause them to flee, running past you and back up the path. Follow them and fight the trash mob. You’ll have to repeat this step at the next trash mob. Run through the red bushes, scare the Armadillos and then fight the trash. Once you’ve done this, you’ll be free to proceed and fight Lala.
7 “A Dear Friend”
Take the middle path and push forwards until you’ve defeated Quaqua. This time, when you come to the Treeant and the Crawlers, pull them onto the sigil and then kill the Treeant first, before tackling the Crawlers. This will cause a new path to appear behind the sigil. Defeat the first set of monsters that you come across and then proceed. As you approach the next trash mob, do not attack Jolly-tailed J’jhimei (she’s hiding behind a tree to your left as you approach the mob). Defeat the trash mob and then proceed to the battle with Lala.
8 “Fish for the Mind”
Take the middle path and push forwards until you’ve defeated Quaqua. Once again, pull the Treeant and the Crawlers onto the sigil and kill the Treeant first before killing the Crawlers. Take the newly emerged path and defeat the first trash mob. When you approach the next trash mob, you must attack Jolly-tailed J’jhimei (this will also prevent the Golems from attacking). Once you’ve defeated Jolly-tailed J’jhimei and the trash mob, you’re free to go and defeat Lala for the final time.
Well done, you’ve completed all of the middle paths! Let’s move onto those on the right.
9 “A Familiar History”
Take the right path and push forwards until you have defeated Quaqua. Once you’ve done this, you’ll find yourself face to face with Statice the Pixie. She will discuss having secrets and you will then be given two dialogue options. For this path, choose the first option which says “Well go on, don’t keep them to yourself.” and once you’ve done this, Statice will summon a portal. Go through the portal and follow the new path to the end, fighting trash mobs on your way, until you reach the final fight of this path with Statice herself.
10 “The Remnants of Faith”
Take the right path and continue on until you are faced with Statice again. When she tells you about her secrets, choose the second dialogue option of “I’m not interested in your ‘secrets’.” She will continue to talk and you will be given further dialogue options. The second time you are offered a choice, choose “I don’t know if I can…”. When you are offered a choice for the third time, select “You just have a… wicked air about you.” Once you have denied her ‘secrets’ three times, she will disappear and Matsya will create a new path for you to follow. Along this path, you will come across a number of treasure coffers but do not open any of them. Follow the path, defeating trash mobs as you proceed, until you come to a lever. Pull the lever and you will be taken to the fight with Statice.
11 “A Lalafell or Fish?”
Take the right path and complete the same steps from the previous path. Deny Statice’s attempts to tempt you with her ‘secrets’ by choosing the bottom dialogue option each time. Once Matsya reveals the new path and you have followed him, you must interact with the coffers. Doing so will reveal the coffers to be Mimics. Defeat the Mimics and make your way forwards until you reach the lever. Pull the lever and proceed to the fight with Statice.
12 “Wellspring of Golden Memories”
This path is the most complicated path and has a lot of steps. However, by performing everything correctly, you will be rewarded with an encounter with the “secret boss” of Aloalo Island, Loquloqui.
Take the right path and continue until you have defeated Quaqua. Once again, deny Statice’s attempts to tempt you with her ‘secrets’ and follow Matsya down the path he creates for you but this time, don’t interact with the treasure coffers. When you reach the room with the lever, do not pull the lever. In this room there are three statues; a whale, a turtle and a sparrow. Each statue has specific rituals which need to be performed in order to complete this path. All of the information required for the rituals can be found in the Conservation Records notes. When typing the words in say chat, ensure that you include capitalization as well as both the comma and the period, otherwise the ritual will not work.
Whale: Stand in the circle in front of the whale statue and in say chat, type “O messenger from beyond the horizon, hear me.”. This will cause the circle and statue to illuminate and give you the ‘Rite of the Great Whale’ buff. The next step is to run clockwise (to your left) around all of the statues before returning to the circle in front of the whale statue. After this, run counterclockwise (to your right) around all three statues before returning to the circle in front of the whale statue. Once you have returned to the whale statue for the second time, perform the /dance emote, which will end the ritual for the whale.
Sparrow: Stand in the circle in front of the sparrow statue and in say chat, type “O dancer of the skies, hear me.” This will cause the circle and statue to illuminate and give you the ‘Rite of the Sparrow’ buff. Once you’ve done this, perform the /blowkiss emote while facing the statue. Once you’ve blown your kiss to the statue, run clockwise (to your left) around of all three statues before returning to the circle in front of the sparrow. Once you’re back, perform the /dance emote. This will end the ritual for the sparrow.
Turtle: Stand in the circle in front of the turtle statue and in say chat, type “O wayfarer of land and sea, hear me.” This will cause the circle and statue to illuminate and give you the ‘Rite of the Sea Turtle’ buff. Next, you need to run twice counterclockwise around all three statues before returning to the circle in front of the turtle. Once you’ve done this, perform the /bow emote while facing the turtle statue. This will end the ritual for the turtle.
Once you have completed all three rituals, provided you have performed them correctly, a door will appear and open on the floor of the room for you to jump into. Once you’ve reached the bottom, follow the path until you meet a treasure hunter named Wobble-kneed Whasbrym, along with a trash mob. Once you’ve defeated him and the mob, pick up the leather sack which has been dropped.
Inside of this sack, there are three statues which are to be placed on three worn pedestals a little further up the path. Place the sparrow statue on the first pedestal (on the left of the path), the whale statue on the second pedestal (on the right of the path) and the turtle statue on the third pedestal (on the left of the path again).
Once you’ve performed all of these steps, you will be taken to a new area where you will face the secret boss, Loquloqui. Provided you’ve done the paths in order, you will also be rewarded with the Statice Wings mount. You should also have gathered a significant number of Aloalo Potsherds, which can be exchanged for rewards by visiting Trisassant in Old Sharlayan (X:12, Y:13.3). For more information about the rewards, check out our other article.


