Save up for the laser sights
In Half-Life: Alyx, Valve keeps the inventory management relatively simple.
For more info on how that all works (which involves minor gameplay and non-story spoilers), read on!

Although some VR games do feature advancement inventory management, Half-Life: Alyx keeps things simple. You have three weapons total to choose from (pistol, shotgun, SMG), with one multi-tool sonic screwdriver-like thing that solves all of your problems by plugging into obvious electronic ports.
Alyx also has two semi-hidden inventory slots in her wrists, which are best used to store syringes.

If you want more customization, you can upgrade those three weapons at workbenches scattered around the game. While there are a few upgrades that are unique to each weapon, the common thread you’re going to want to unlock first for all of them is the laser sight over the reflex sight. This allows you to more readily aim at weakpoints in the heat of battle without having to fine-tune your aim.
Next up: ammo reservoirs, so you can keep laying fire down against some of the sturdier enemies in the game. The extra ammo for the pistol is a great, cheap first choice. Alternatively, you could go with ammo all the way as your first upgrade. It’s totally your call and dependent on your playstyle. Conserving ammo early is very important so extra reserves aren’t as imperative, but late-game when you have a ton of ammo storage in your backback, those upgrades can really shine.

So how do you heal? Well you can reach down into your wrist pockets to grab syringes, press the A button (on an Index remote) to ready it, then stab yourself anywhere (your own wrists are the quickest). You can also heal another way so that you can keep those wrists fully stocked.
Occasionally you’ll find medical stations during your travels. Many of them can be opened by pulling the red lever in the bottom left hand corner of the station. Just stick your hand on the panel and you’ll be healed (up to three red cross symbols). Make sure you heal yourself to max every time you find one. In other words, remember where these stations are, and if you take a hit or two during a skirmish, you can return to them to top up.
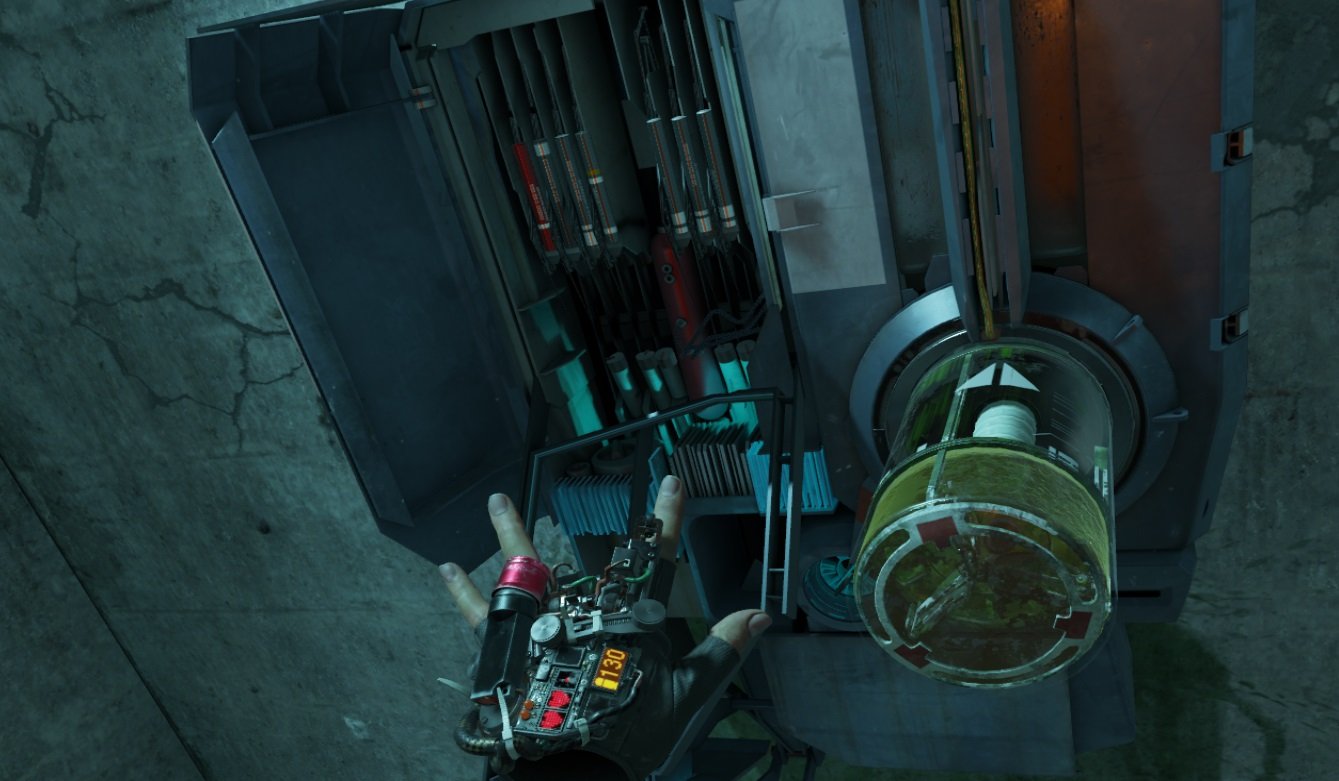
Occasionally the station is inoperable. In that case you’ll need to find the little test tube that attaches to it (pictured above). They’re always in a nearby area for convenience. Just grab it and re-attach it.


