As you explore the Shadow-Cursed Lands in Act 2 of Baldur’s Gate 3 you may stumble upon lingering mentions of a Selunite Resistance. These don’t just add some good story to the region, but can net you some decent experience and gear. So let’s find that resistance, shall we?
How to investigate the Selunite Resistance
You can start the Investigate the Selunite Resistance quest in the Shadow-Cursed Lands by finding a chest in the Potter’s Shop, which is south of the Last Light Inn. Head towards the encounter in the Potter’s Shop (X:-51, Y:15).
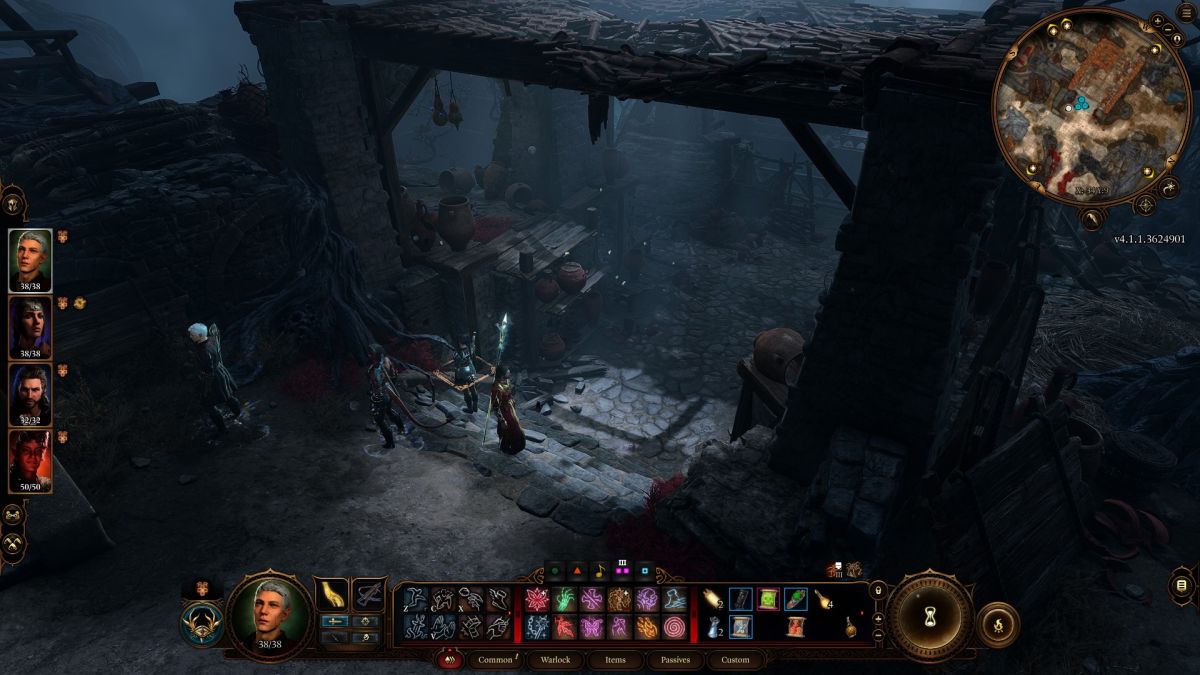
When you get there, some Meazels will show up to cause some havoc. These little guys are a real problem, as they’ll leash your characters and then teleport them away, splitting the party up and hampering your moves. I recommend sending one or two beefy fighters, like Lae’zel or Karlach, in first while your softer damage dealers hide in the back, attacking once all the Meazels have unveiled themselves. And remember ABS: Always Be Shoving.
Once you take the Meazels out, use the nearby key to open the Potter’s Chest and get your next point of investigation. After succeeding in a Perception Check, you’ll find this key at (X:-33, Y:11), revealing a moveable brick in the wall. Interact with the brick to obtain the Potter’s Chest Key, which you can use to open the chest at (X:-53, Y:11). Read the note to initiate the Investigate the Selunite Resistance quest.
Investigate the Last Light Inn in Baldur’s Gate 3
The hunt for the Selunite resistance in Baldur’s Gate 3 will take you back to the Last Light Inn, a major hub in Act 2. It will ask you to explore around and find clues; you can explore yourself, or just head behind the bar. (Chill, that’s where a clue is.)
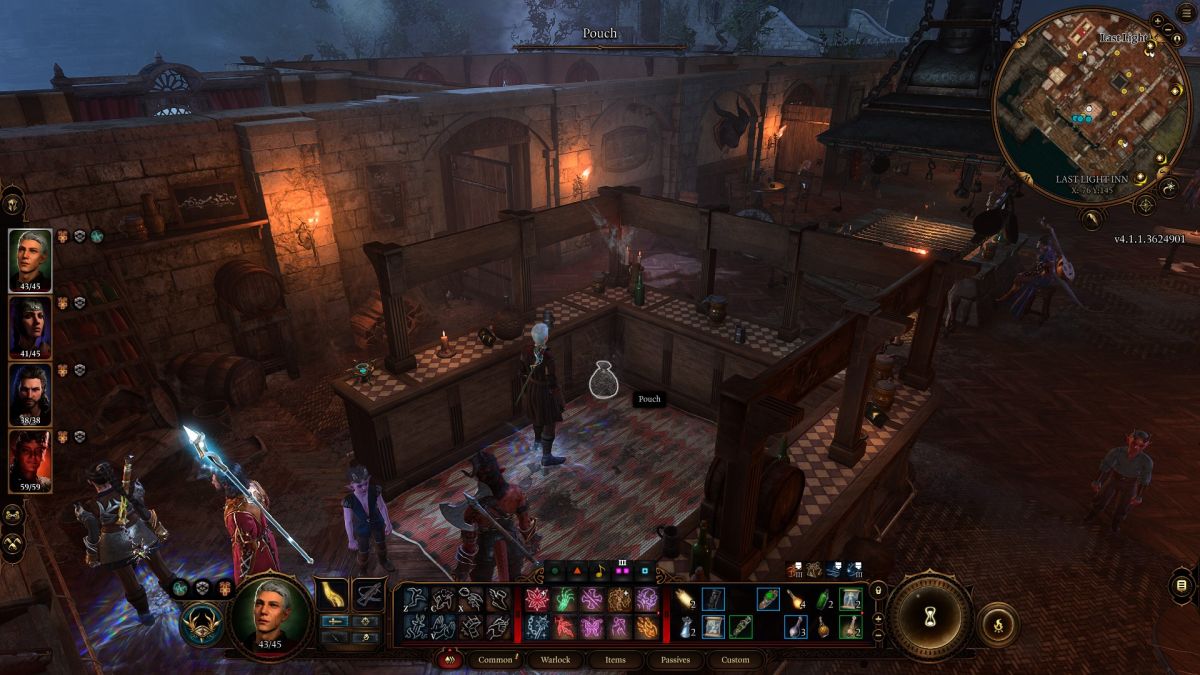
While you’re on the first floor, you’ll also want to talk to Mattis, the young Tiefling child shopkeep, if they were saved during Act 1. Mol gave them a key, and they will try to sell it to you for a bunch of gold. Do not get fleeced by Tiefling children. Dialogue check your way into a free Tower-Shaped Key. You’ll need it in a moment.
Lastly, head outside and down the stairs in the back of the Inn, towards its cellar. This is a separate area you’ll pop into, and it seems small at first. You’re looking on either side, left-hand or right, for cracked walls. There are two options, though I recommend the left-hand side, as it offers a more direct path to our objective (though the right-hand side has a chest you can lockpick for some treasure).
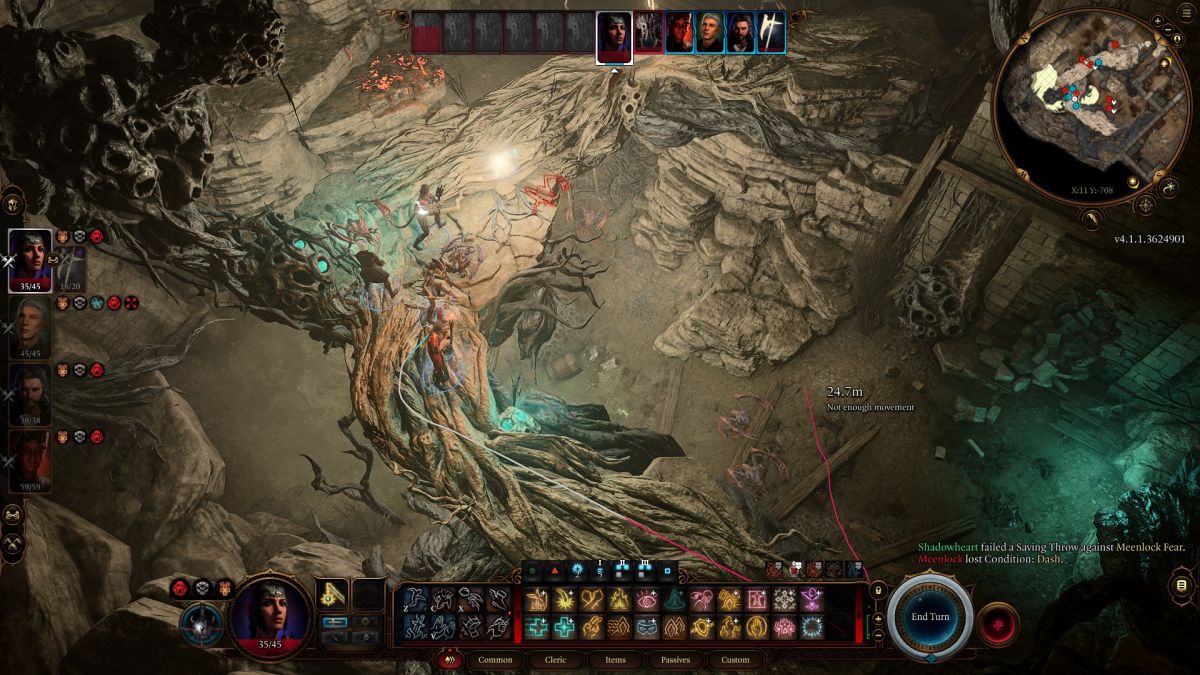
Inside this area, you’ll find another Selunite stash, occupied by Meenlocks. This really is a questline filled with particularly annoying fantasy creatures. Meenlocks are deadlier in the dark, so light up the area using whatever you can, whether it’s a spell like Daylight or good ol’ Torches. Once you’ve cleared them out, loot the area and read the note, informing you that your next lead lies at the Masons Guild.
Last note: if you came in through the cellar door, exit using the hanging vines in the middle of this area. You’ll emerge in a run-down house in the Shadow-Cursed Lands, near the Last Light Inn, with a chest nearby. Loot it for some good gear.
Investigate the Masons Guild in the Shadow-Cursed Lands
Now, we’re going to head back down south and further west, into the deeper part of the Shadow Curse, for the final stage of this quest. (If you don’t have full protection from the Shadow Curse at this point, you should probably acquire it.) Look for the Masons Guild, specifically a trapdoor located on the first floor at (X:-129, Y:31).
You’ll find the Reithwin Masons’ Guild directly west of the Potter’s Shop and Ruined Battlefield from the beginning of this quest, which you can quickly access using a partially broken bridge. From here, just continue northwest until you encounter the Masons’ Guild and search for the trapdoor.
It’s a long path here, but we’re in the home stretch now. Find the Tower-Shaped Keyhole on the wall, and insert the aforementioned key. (Or lockpick it, if you skipped a step.) Heed an earlier note’s warning and ignore the chest and other traps here. Don’t even bother disarming them, as they don’t hold anything of value in this first hall. Head through to the main chamber and prepare for a fight with some Shadows. By this point, you know how Shadows fight, so it shouldn’t be too tough.
A good tip for dealing with Shadows in general is light. Whether you’re lighting up some torches, or using spells like Daylight or the Blood of Lathander weapon, light will help keep the Shadows honest and make them easier to see for ranged fighters that aren’t packing Darkvision. Stay close and healthy, light the area up, and you should be fine.
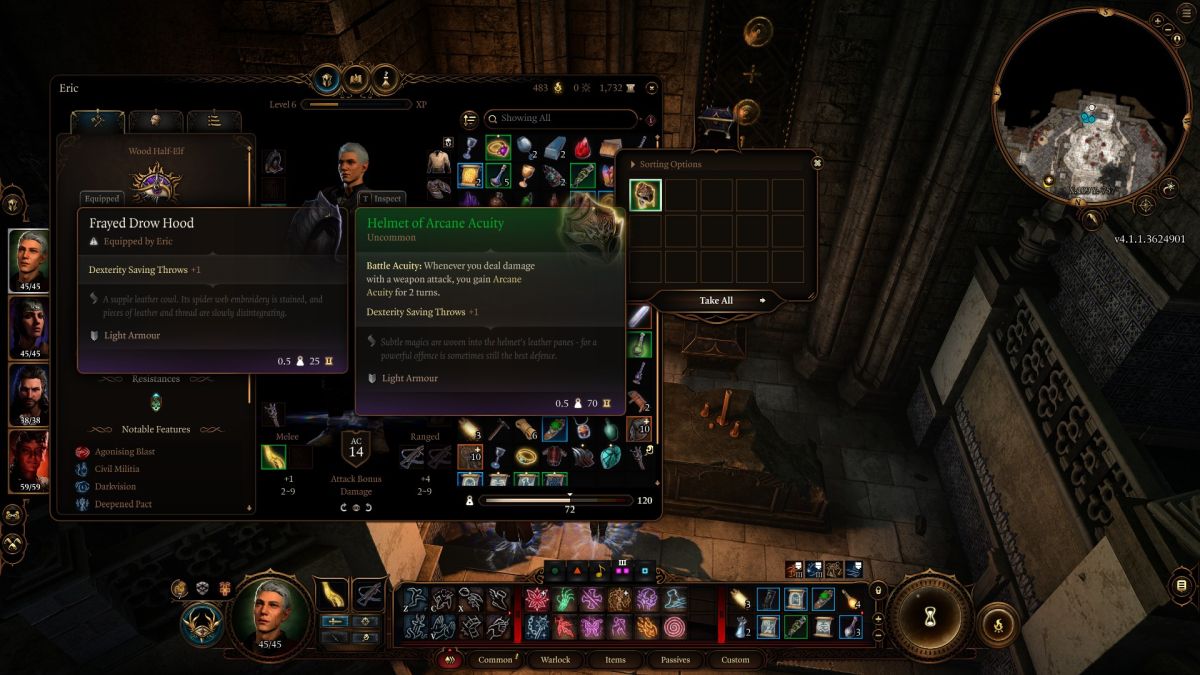
After clearing out the area, you can loot all around for a bit of closure on the failed Selunite Resistance, as well as some decent gear. Make sure to get the chest at the back open (I had to disarm a trap, then lockpick it) for a solid helm. Don’t miss the button on the wall, which opens a secret area.
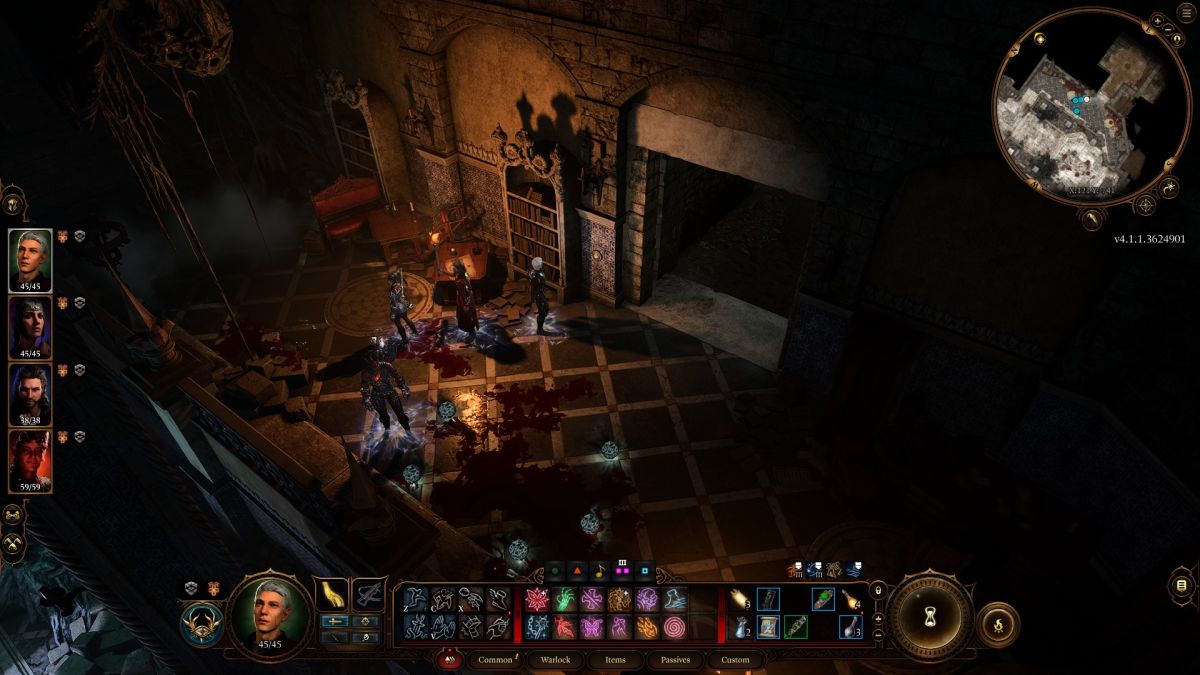
After all this, you’ve found all that’s left of the Selunite Resistance in Baldur’s Gate 3. Not the most grandiose adventure, but it certainly weaves a bit more depth into the lands through the story of Thorm, the local resistance, and the conflict between the followers of two deities.
