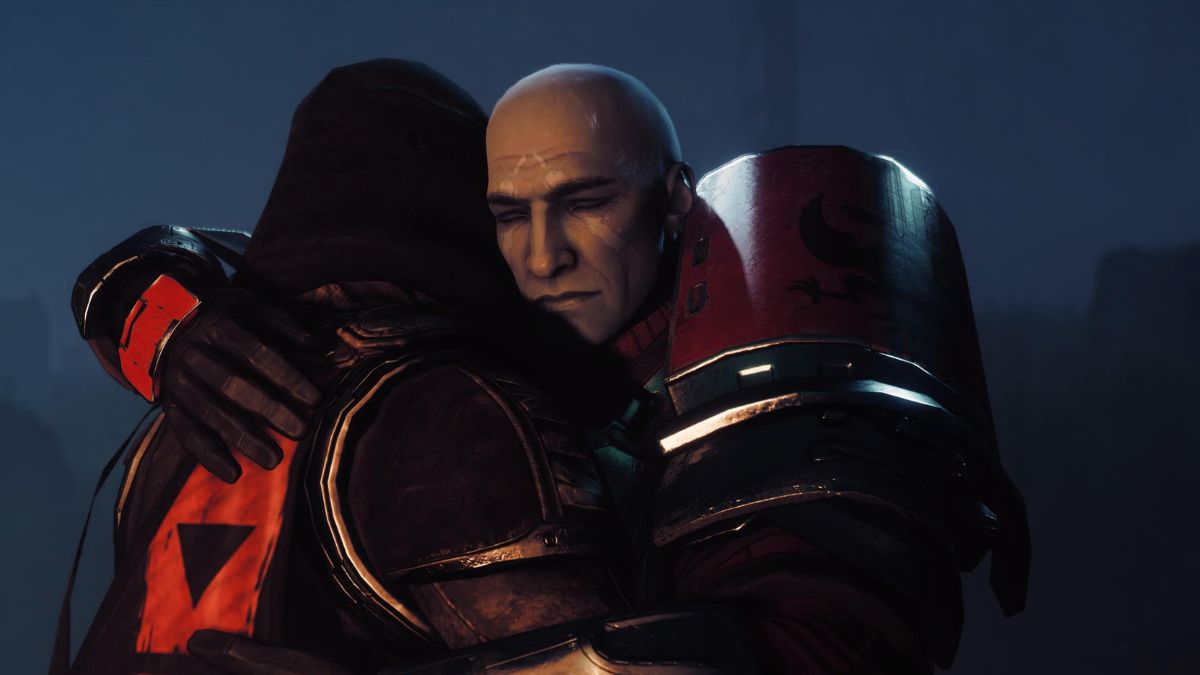
Requiem is the fourth campaign mission in Destiny 2: The Final Shape and sees you head out into The Pale Heart in search of Zavala. He’s the last member of the Vanguard that you need to pull into your group, but he’s also the one fighting the most demons with The Witness.
This mission isn’t too much of a challenge for the most part. However, its second half is definitely more tricky than its first. Make sure you clear out at least an hour for this one because you’ll almost certainly get stuck while learning the mechanics and figuring out what it is you need to do.
How to complete Requiem in Destiny 2: The Final Shape
Below, I’ve explained how you complete Requiem in Destiny 2: The Final Shape with a step-by-step guide through every section of it. If you get stuck, read through what you’re meant to do and come at it from a new angle.
Step 1: Learn the Glyphtouched puzzle
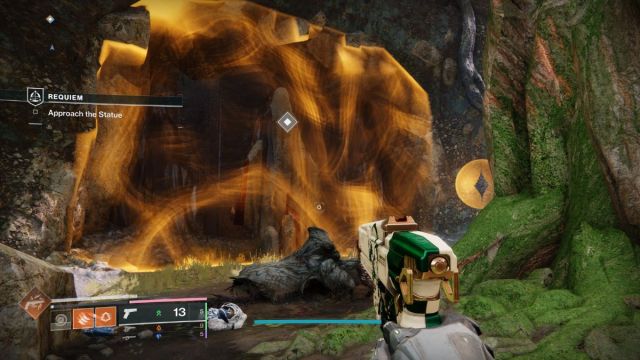
As you launch the mission, you’ll be directed to Zavala’s last known location. After killing the enemies there, you’ll find a statue behind a darkness barrier. The small key for the barrier will drop its shield, and you must shoot it. This will spawn an enemy and give you the Glyphtouched status. It’s a new type of puzzle that you’re going to need to master.
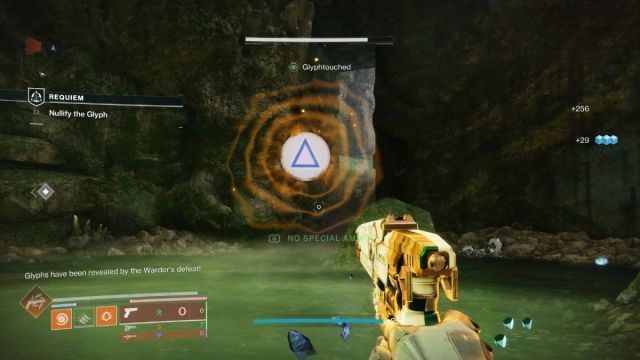
Head over to the group of enemies that’s spawned and kill them until a big one pops up. When you kill that, it should drop a glyph. This changes every time you play the mission, so remember the image that you’re shown because it’s important.
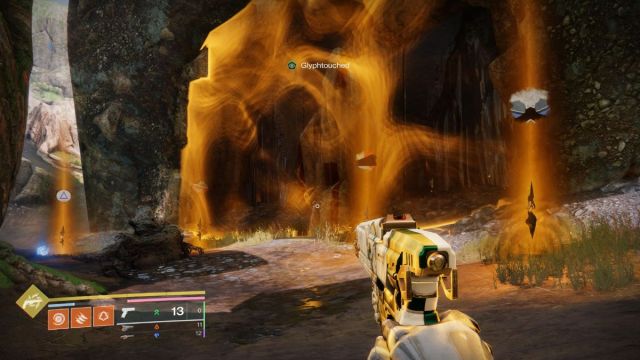
While holding that image in your mind, return to the darkness barrier. You should now see four glyphs in front of it. Walk into the glyph that matches the one the large enemy you just killed dropped. This should kill the shield for the statue, allowing you to interact with it.
Step 2: Complete another glyph puzzle and follow Zavala
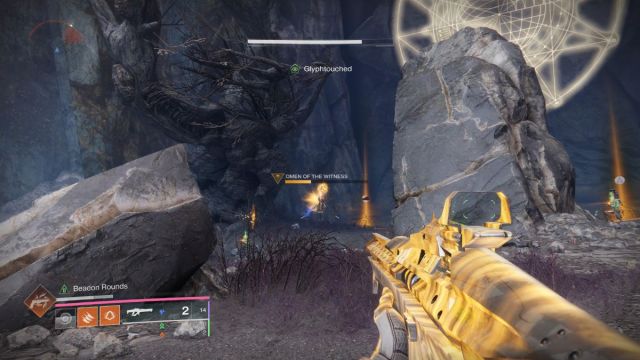
Investigate the statue and then move into the next area. This is where you’ll need to complete another glyph puzzle. It’s exactly the same as before. Destroy the small lock to become Glyphtouched, kill enemies until a large one spawns, kill that and remember the glyph it drops, then walk into the same glyph back at the barrier.
The only slight difference is that an Omen of The Witness will now spawn and try to kill you while you complete the puzzle. This enemy isn’t too difficult to take down, but it’s easier if you have your Super handy. Walk through the barrier, and you’ll enter a cave, where the real fun begins.
Step 3: Tackle a double glyph puzzle
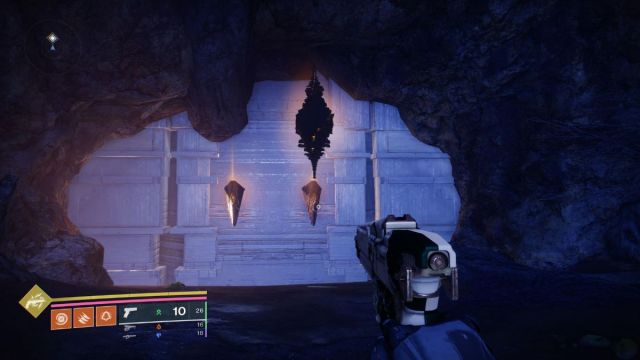
The cave holds a double glyph puzzle. It’s pretty much what it sounds like. There are two locks on the door, so you’ve got to find two glyphs by killing big enemies and then activate both of them. Shoot the lock to gain the Glyphtouched status and then head off to the first group of enemies.
This group is easy to kill. Take your time so you don’t lose too much health when the large boss dies. After you kill it, more enemies and traps will spawn in to block your path to the other side of the cave. That’s bad because that’s where the second boss is, and the second glyph you need.
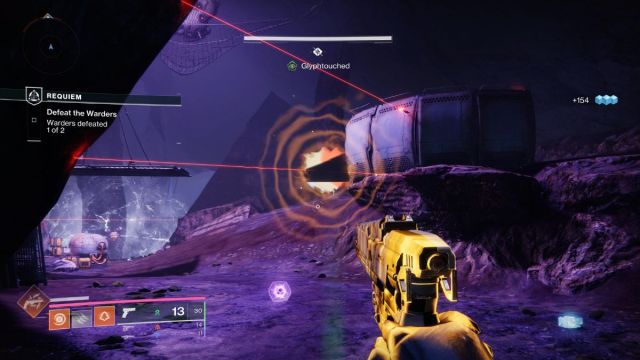
Really slow down for this encounter. Enemies will rush you, so you can hold back and kill them while they line up to take your shots. Keep an eye out for Tracer Shanks as you move forward because they ended me here more than a few times. Note that once you kill these enemies, they’re dead, so you can clear a path very easily.
Repeat this process and kill the second group of enemies. I recommend clearing out as many small ones as you can first so you’re left with almost none to battle once the miniboss is down. When you do kill the bigger enemy and it drops is glyph, memorize it and be ready for a fight.
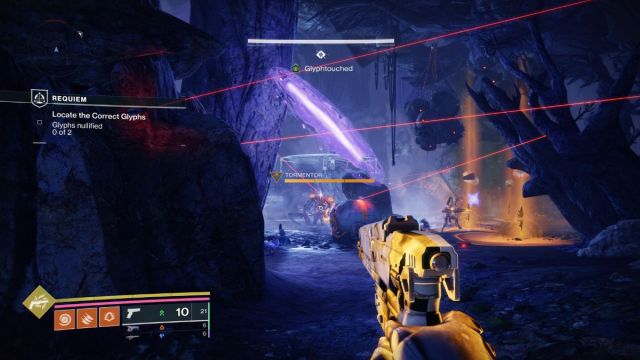
You now need to get back to the door with two locks and activate the two glyphs you’ve seen by stepping on them. Do what you did before and go slowly, killing the enemies that come to you. As you approach the door, Dread enemies will spawn. Keep these guys at bay because a Tormentor will spawn and rush you.
This guy isn’t playing around. The best way to kill it is to back up to the area where you killed the second glyph boss and run around there to fight the Tormentor without too many traps. I used my Super to finish it off, but your most powerful weapon should do the trick.
When you follow the path, you’ll see and learn about what The Witness has been offering to Zavala. It’s not pretty. The Witness promised to bring his dead family back, and Zavala told it no, even though it’s all he wants in the universe.
Step 4: Defend Zavala’s house
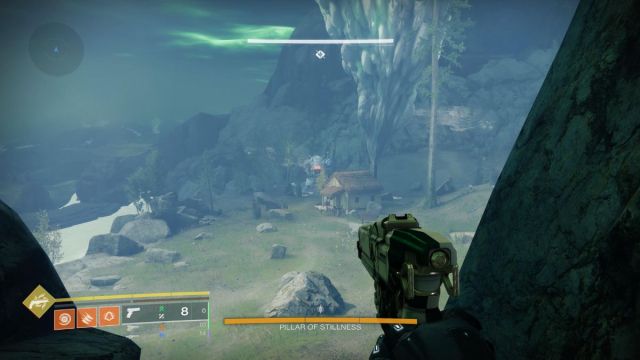
The final part of Requiem sees you locate Zavala by his house, which has been completely overrun by The Witness. Once you speak to him, a boss called Pillar of Stillness will spawn, and you’ll need to fight through a few stages to beat it.
First, whittle down this enemy’s initial third of health. This will cause it to pull up a shield and spawn in more enemies for you to kill. Once you’ve killed that wave, repeat the process until you’ve killed it. The final phase is the worst because it has a Harbinger enemy to deal with.
The only way to beat this boss is to be careful. After the second phase, wait out the enemies and kill them as they approach you. Then, in the third phase, kill the boss as quickly as possible before moving on to the smaller enemies to deal with them.
The end of this mission sees Zavala meet up with everyone you’ve rescued so far in The Pale Heart. This is the team you’ll be tackling The Witness with as the campaign progresses.


