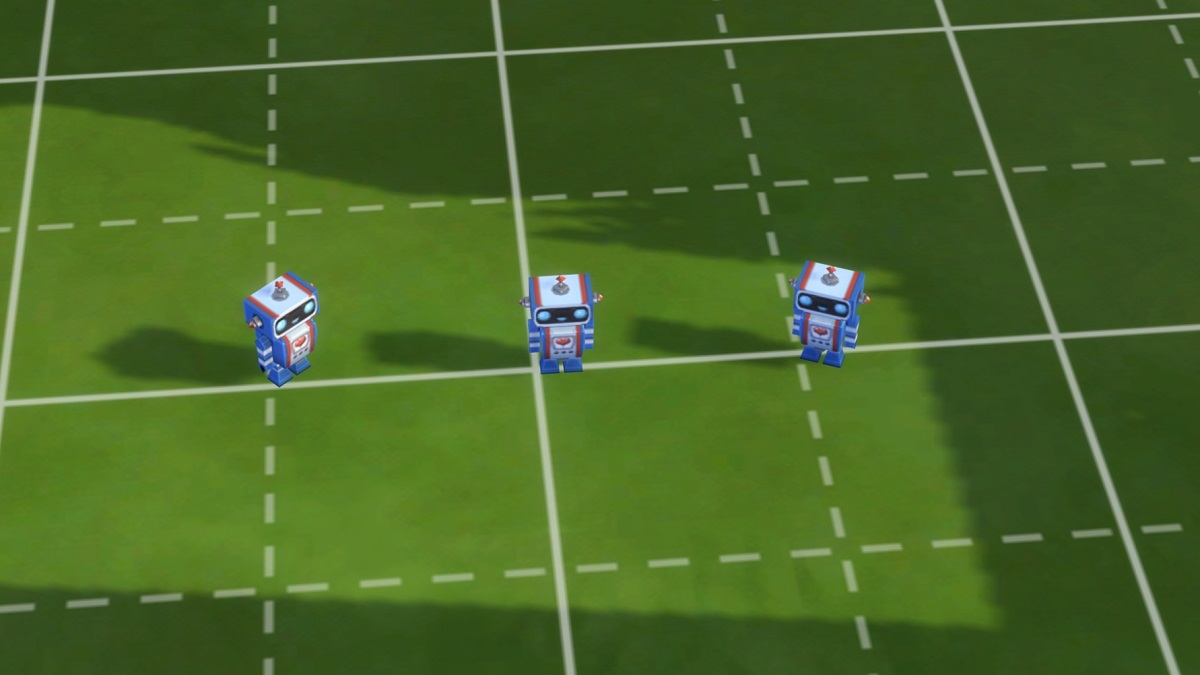
Back in my day, the days of The Sims, you could only rotate an item four ways. This is because the world sims inhabited was 2D, so the object needed to be redrawn for more directions. With The Sims 4 fancy 3D, you can point things in all directions, so here’s how to do it.
You probably just want a quick reference, so here it is. On PC and Mac, you can either rotate an object with the < and > keys or, when you place an item, keep holding the right-click down to rotate it. If you want finer tuning, hold down the alt key.
For console, you use the shoulder buttons before placing it. Pressing the bumpers (L1/LB R1/RB) will rotate in eight directions, but if you want more than that, you need to press both directional shoulder buttons at the same time (L1+L2, R1+R2, LB+LT, RB+RT).

How to free-rotate objects in the Sims 4
You don’t have to stick to just eight directions for your furniture in The Sims 4. This is how you can rotate objects freely.
On PC/Mac, hold the alt key while rotating, and it will unlock the object’s movements.
On console, use both shoulder buttons (L1+L2, R1+R2 for PlayStation, LB+LT, RB+RT for Xbox), and that will allow the object to slide freely to face any angle.
Just note that fine-tuning furniture when placing it at odd angles can be finicky. There’s a reason why the default way of rotating is just eight directions, it means there is less chance of error and simplifies the process of placing interactive objects. I would typically suggest that you stick to normal rotation if you’re just playing for the life simulator elements of The Sims 4. If you’re practicing home or level design, on the other hand, then the fine control could be worthwhile.


