Alan Wake 2 is a standout title that can truly unsettle and scare its players. To ensure smooth progress, it becomes essential for players to know how to save the game manually. Here’s a step-by-step guide on how to save manually in Alan Wake 2.

How to save manually in Alan Wake 2
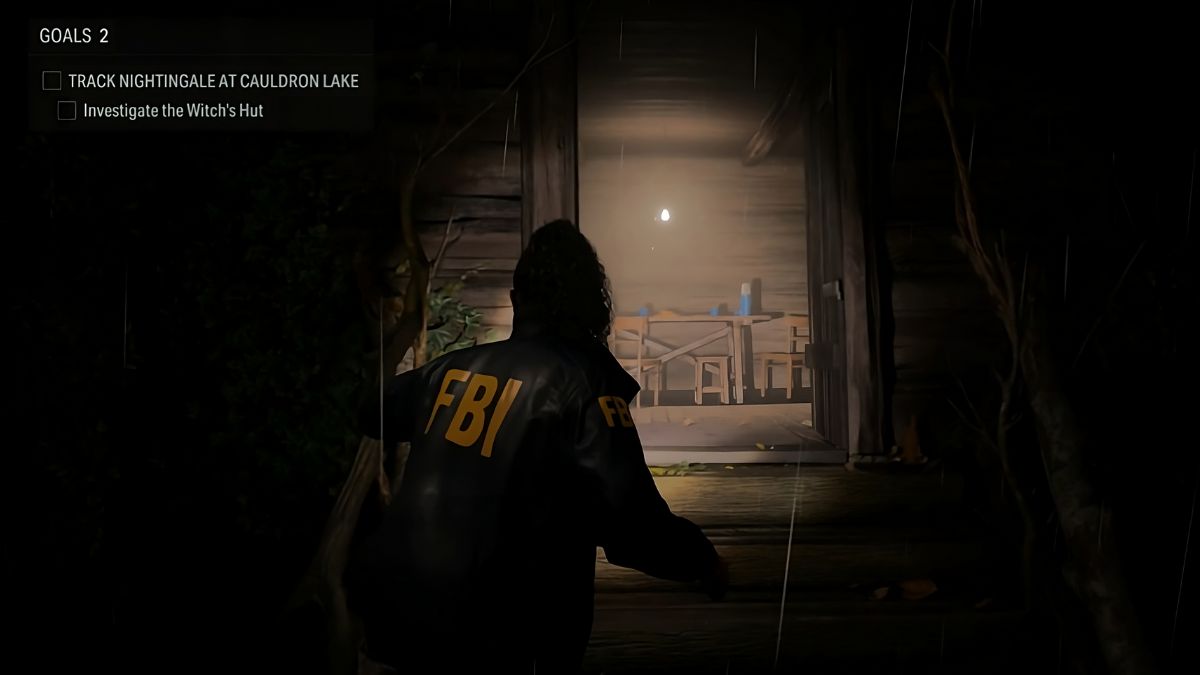
To save your game manually in Alan Wake 2, you must locate Break Rooms. These rooms act as dedicated save points and are easily identifiable by their well-lit areas. Break Rooms are often distinguished by a Thermos on a table, indicating the opportunity to save your progress. However, these rooms are not immediately accessible. Instead, you must progress to Chapter 2 and fix the Witch’s Hut Fuse in order to unlock the manual save option.

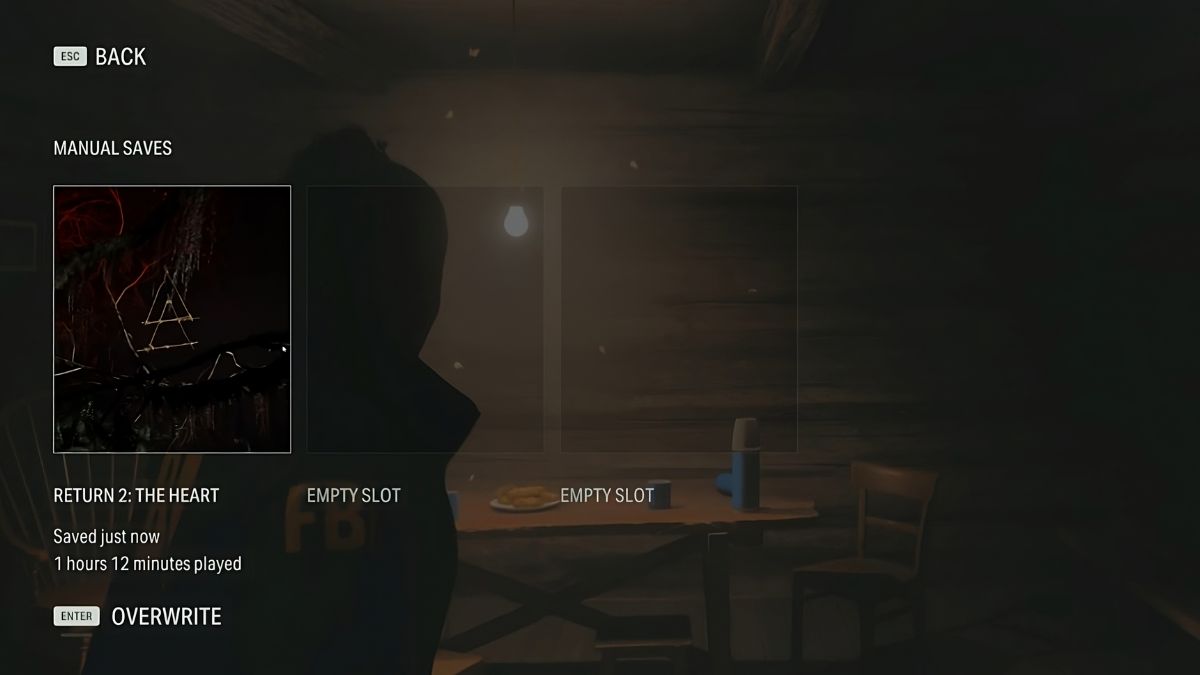
Once you have fixed the Witch’s Hut Fuse, head inside the Break Room, approach the table with the Thermos, and interact with it. This will bring up a menu with two options: Quick Save and Manual Save. To create a manual save, select the Manual Save option. This will allow you to choose from one of the three available save slots. Each slot represents a separate save file, providing you with the flexibility to have multiple players or to backtrack and explore different paths in the game.
In addition to manual saves, Alan Wake 2 also features an auto-save system. The game automatically saves your progress at certain checkpoints, indicated by a “Game Saved” prompt in the top right corner of the screen. While auto-saves are convenient, it’s better to save manually if you plan to stop playing, as auto-saves may not always start from the exact point where you left off.


Published: Oct 29, 2023 08:58 am